Shop Minis quickstart
In this guide you'll create a Shop Mini and get it running in a simulator.
This guide has currently only been tested on macOS.
Building your first Shop Mini
You can create a Shop Mini locally using npm
.
Early access partners must register their Mini.
Step 1: Create a Shop Mini
1. Navigate to the directory where you want to create your project:
$ cd <directory>
2. Create a Shop Mini locally using following command:
npm init @shopify/shop-mini@latest
This will take a few seconds to install some necessary dependencies.
3. Follow the instructions to set the name of the Shop Mini:
For example, enter quickstart
.
? Give your Shop Mini a name. You can change it later.
› quickstart
4. Choose a template to get started building your Shop Mini:
For example, select Blank
.
You can check out how to use the other templates in our Shoppable Posts and Shoppable Videos guides.
? Select a template › - Use arrow-keys. Return to submit.
❯ Blank - A blank canvas so you can create from scratch
Shoppable Posts
Shoppable Videos
When you select your template, we will download the template itself and other development dependencies. This may take a few minutes depending on your internet connection.
5. Choose an extension target to surface your Shop Mini:
In this example, let's choose "Product Page - Before Variants Picker"
? Select the extension target where your Mini will be shown:
❯ Product Page - Before Variants Picker
Product Page - After Description and policies
Product Page - Default
Store Page - Default
Order Confirmation Page - After Order Details
Order Management Page - After Order Details
Order Management Page - After Visit Shop Button
6. Choose what type of an extension you want to create:
In this example, let's choose "Link"
? Select the type of extension you want to create:
Blank
❯ Link
Default Card
Image Collection
Video Collection
Bundle Selector
Bundle Collection
Bundle Upsell
You should see this success message. After that, development dependencies will be installed which may take a short while, then you will see instructions on how to continue.
╭─ success ──────────────────────────────────────────────────────────────────────────────────────╮
│ │
│ Extension created successfully │
│ │
│ • Your extension was created at: src/targets/shop.product.variants.render-before │
│ • Your minis config file was updated │
│ │
╰────────────────────────────────────────────────────────────────────────────────────────────────╯
Step 2: Register your Mini
Early access partners will receive an invitation code in their welcome email. You must follow the instructions in that email to register your Mini. Registering will unlock platform features such as extensions and the ability to publish your Mini to the Shop app.
Run the following command and enter your invitation code when prompted:
npx shop-minis setup
✔ To begin the setup process, please confirm that you have received an invitation email from the Shop Minis team. If you have not, please apply to join the early access program at https://shop.app/minis/apply/. … yes
✔ Provide the invitation code from the welcome email: … <invitation-code>
✔ API key fetched
Your Shop Mini has been set up.
This will configure your Mini and provide you with an API key for the Shop Minis Admin API.
Step 3: Start development
Continue in the Shop Mini directory and run the following command to start development server:
npm start
Press
i
in the CLI menu to open the Shop app in the iOS simulator of your choice. For more information on how to start using any of the other commands, check out our Shop Minis CLI references.Local development environment for quickstart is running...
› Press a │ Open on Android device or emulator
› Press i │ Open in iOS simulator
› Press q │ Print QR code in terminal. Scan to open your Shop Mini on an iOS device with Shop installed
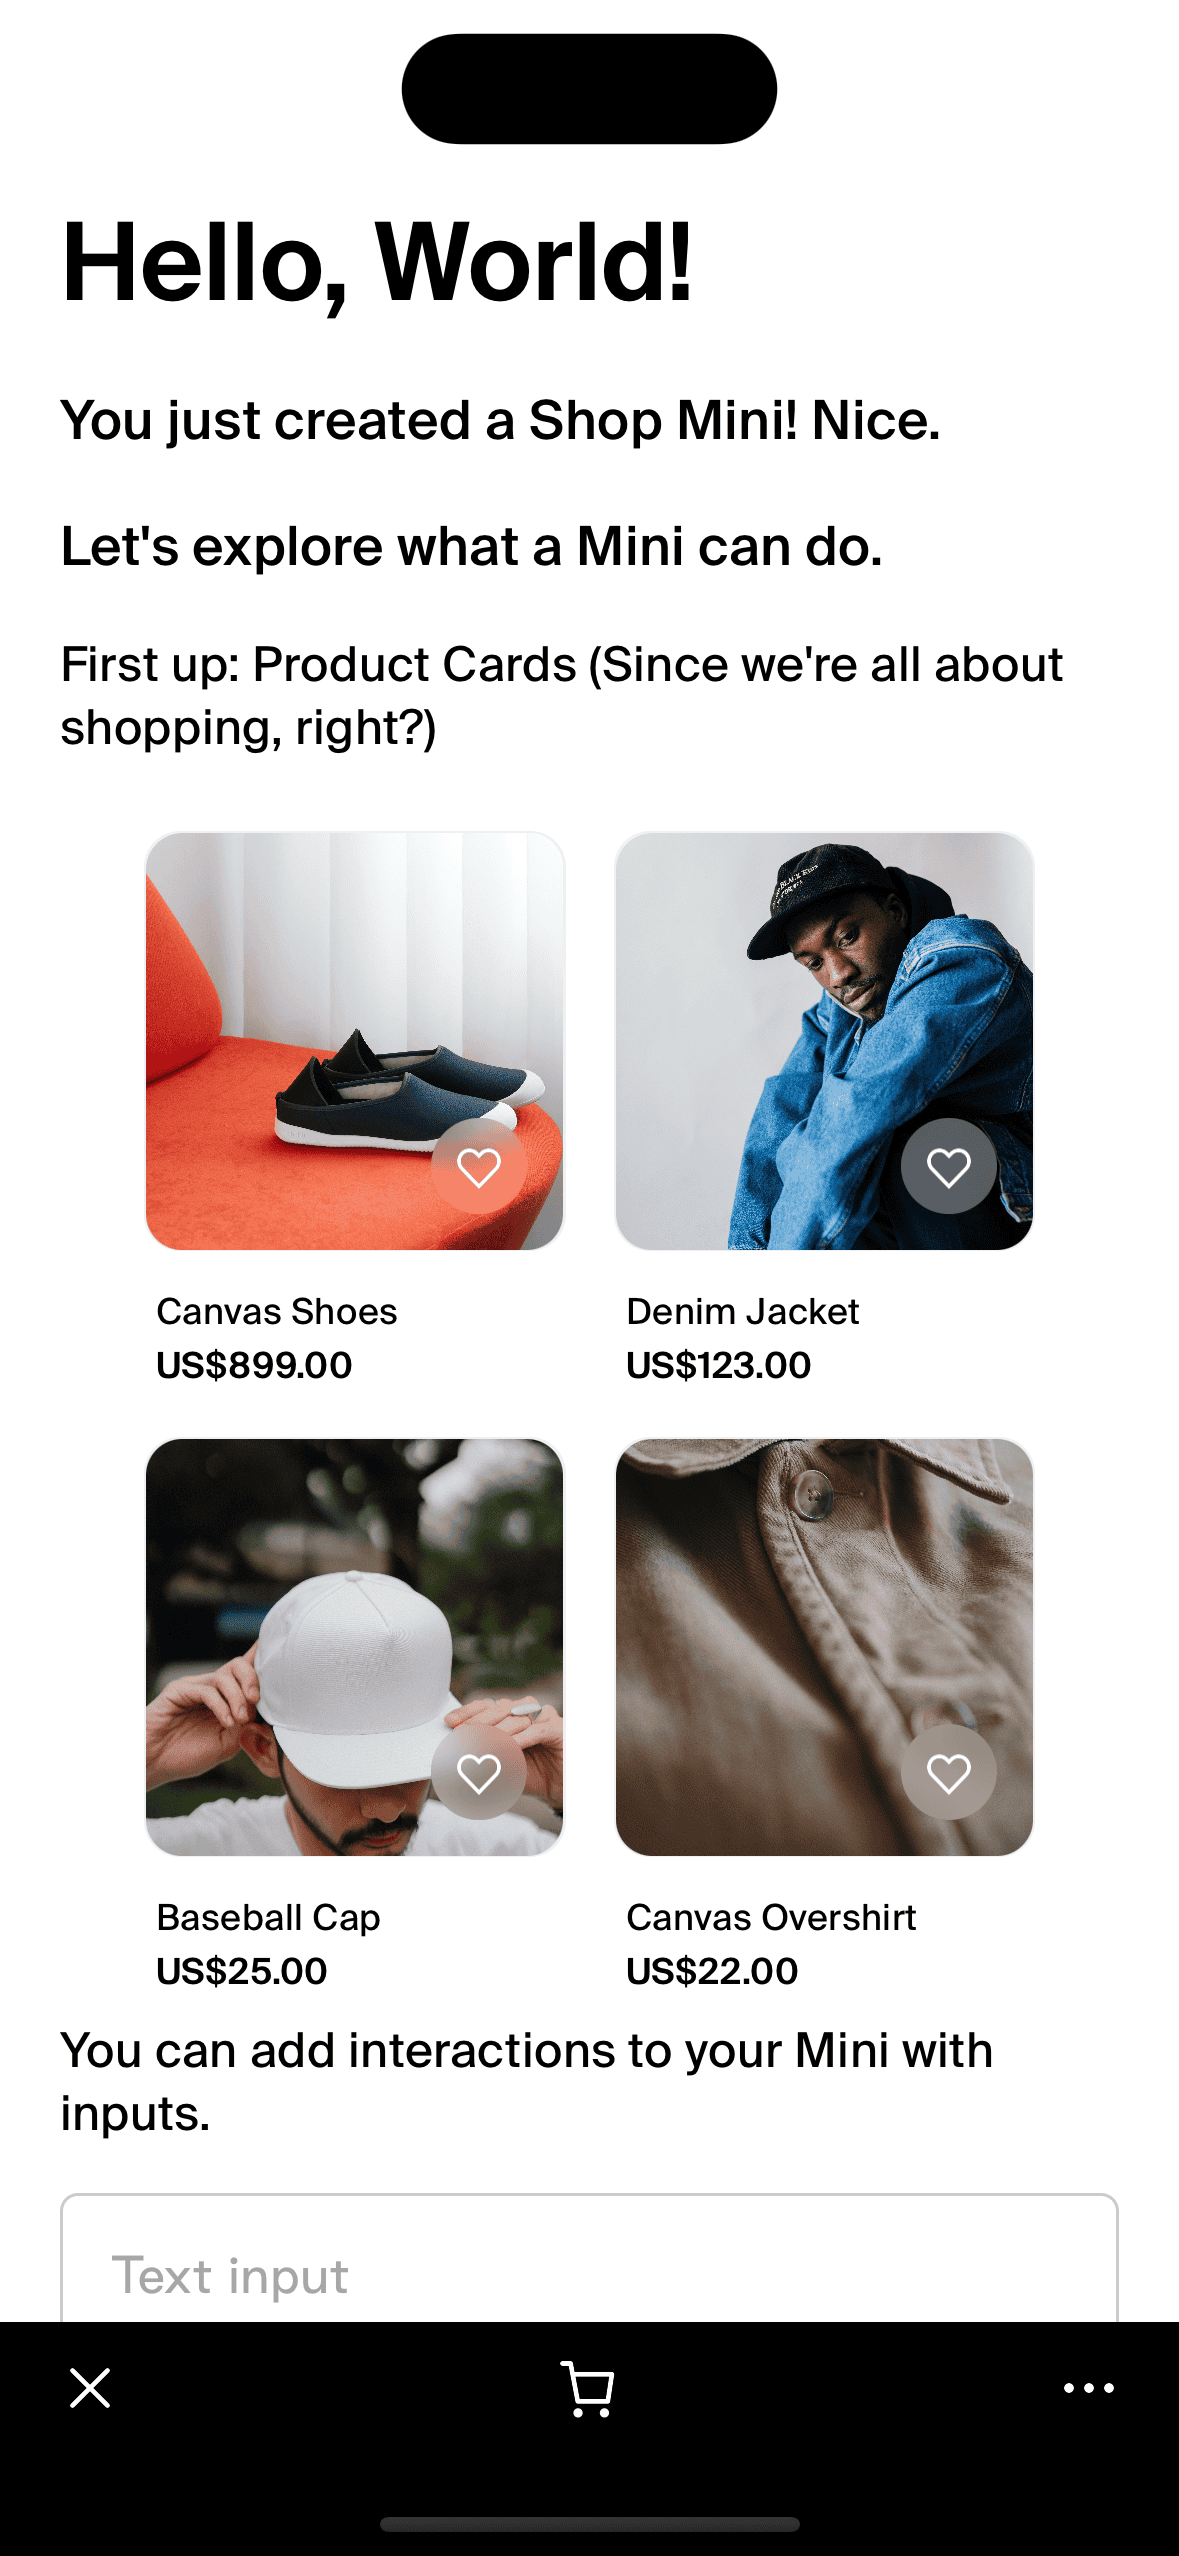
› Press d │ Open Developer Dashboard in web browserOnce you reach the Shop app home screen, you will see a prompt informing you that the app has detected a Shop Mini running in development mode.
Navigate to your test store and to a product page. You should see a loading indicator for your Shop Mini's extension.
Once done loading, the extension is ready for you to interact with.
Having trouble locating your extension?
If you're having trouble locating your Shop Mini extension after following the setup steps, here are a few things to check:
Correct target: Ensure you've selected the correct extension target when creating your extension. Different targets appear in different locations within the Shop app.
Development store: Make sure you're accessing the proper target within your development store. Your Mini extension will only appear in stores, products or orders that you've set up for development.
Login: Verify that you're logged in with a Shop account that belongs to your Shopify organization.
Refresh: Sometimes, you may need to refresh the product page or restart the Shop app to see your changes.
Extension visibility: Check
render.tsx
if your extension's render function is returning a component. If it's not rendering anything (returning null), your extension won't be visible.Connection issues: Ensure that you have a stable internet connection. You can add
--host localhost
to your start commandnpm start -- --host localhost
to test your Mini locally.
If you've checked all these points and still can't see your Mini, consider reaching out to Shop Minis support for further assistance.
- Press the extension to open your Shop Mini.
The Shop Mini's extensions can be found in src/targets/
and the index component can be found at src/App.tsx
. Start from there to build up the client-side user experience for your Shop Mini.
Next steps
Now that you have your Shop Mini running, you can start customizing it to fit your needs. To support you in this process, we have created a set of components that you can use to build your Shop Mini. It will help you to create a visually appealing and interactive experience for your users. While aligned with best practices, these components are also aligned with Shop App's design guidelines. Using them will ensure a consistent and familiar experience for your users, while also saving you time and effort in development.
We also provide a set of templates that you can use to get started quickly. These templates are pre-built Shop Minis that you can customize to fit your needs. Check out our Shoppable Posts and Shoppable Videos templates for examples of how to use the available templates.
To help you work with custom data, we provide comprehensive guides on using metafields and fetching data with the Shop Minis SDK.
For more detailed information about our CLI commands check out our CLI references